How to Create and Optimize Content for Every Social Media Platform Simultaneously: A Privacy-First Workflow
Content creators waste hours every week reformatting, resizing, and re-exporting the same content for different platforms. You record one video, but YouTube needs 16:9, TikTok needs 9:16, Instagram wants 1:1, LinkedIn prefers 4:5, and your podcast needs audio-only. The result? Multiple editing sessions, multiple software tools, and a massive time sink.
But what if you could create one master file and optimize it for every platform in minutes – all from your browser, without uploading anything to a third-party server? That’s exactly what this guide will teach you.
We’ll walk through a complete multi-platform content workflow using Dayront’s privacy-first browser tools. You’ll learn how to take a single recording and turn it into:
- A YouTube video (16:9)
- Three TikTok clips (9:16)
- An Instagram Reel (9:16)
- An Instagram Feed post (1:1 or 4:5)
- A LinkedIn video (16:9 or 1:1)
- A podcast episode (MP3)
- A blog post (via transcription)
All of this happens locally on your device. No uploads, no accounts, no watermarks, no privacy risks. Let’s dive in.
Why Multi-Platform Content Matters
Before we get to the workflow, let’s talk about why you should care about multi-platform distribution.
The Numbers Don’t Lie
| Platform | Monthly Active Users | Content Format | Best Length |
|---|---|---|---|
| YouTube | 2.5 billion | 16:9 video | 10–20 minutes (long-form) |
| TikTok | 1.5 billion | 9:16 vertical video | 15–60 seconds |
| Instagram Reels | 2 billion (IG total) | 9:16 vertical video | 30–90 seconds |
| Instagram Feed | 2 billion (IG total) | 1:1 or 4:5 | 30–60 seconds |
| 1 billion | 16:9 or 1:1 | 30 seconds–5 minutes | |
| Podcast platforms | 500 million+ | Audio only | 20–60 minutes |
Key insight: Different platforms have different audiences, formats, and algorithms. Posting the same content everywhere (without optimizing) means poor performance on most platforms. But creating separate content for each platform is unsustainable for most creators.
The solution? Create once, optimize everywhere. This is the multi-platform workflow we’ll build in this guide.
Part 1: Creating Your Master File
The key to efficient multi-platform content is starting with a high-quality master file. This is the highest-resolution, highest-quality version of your content. You’ll derive all other versions from this master.
What Makes a Good Master File?
- High resolution: Record at 4K if possible, or at least 1080p. You can always downscale for specific platforms.
- Good lighting and framing: Shoot with the subject centered so you have flexibility to crop vertically without cutting off important elements.
- Clean audio: Record with a good microphone. Audio quality matters more than video quality for most content.
- Uncompressed or lightly compressed: Use a format that preserves quality (ProRes, high-bitrate H.264, or WAV for audio).
Recording Tips for Multi-Platform
If you know you’ll be repurposing your content, here are some tips:
- Leave headroom: Don’t frame your subject too tightly. Leave space above and below so you can crop to vertical without losing the subject.
- Record in segments: If you’re doing a long video, pause briefly between sections. This makes it easier to cut into short clips later.
- Use a consistent background: This makes vertical crops look intentional, not accidental.
- Speak clearly: This improves transcription accuracy (for blog posts) and makes short clips more engaging.
Part 2: The Multi-Platform Workflow
Now let’s get to the actual workflow. We’ll take a master video file and create optimized versions for every platform using Dayront’s browser tools.
Step 1: Trim the Master to the Best Content
Your master file likely contains some dead air, mistakes, or sections that don’t work for short-form content. Use the Video Cutter to remove these.
What to cut:
- Long pauses at the beginning or end
- Repeated content
- Off-topic tangents
- Technical difficulties
How to do it:
- Open the Video Cutter.
- Upload your master file (it stays on your device).
- Set start and end points to keep only the best content.
- Download the trimmed master.
Result: A clean, tight master file that’s ready for platform optimization.
Step 2: Create the YouTube Version (16:9)
YouTube is your long-form platform. If you shot in 16:9 (or 4K 16:9), this step is mostly about compression and metadata cleaning.
YouTube optimization:
- Resolution: Keep 1080p or 4K if you have it.
- Bitrate: 8–12 Mbps for 1080p, 35–45 Mbps for 4K.
- Format: MP4 (H.264) for maximum compatibility.
- File size: Keep under 128 GB (YouTube’s limit), but aim for under 10 GB for fast upload.
How to do it:
- Open the Video Compressor.
- Upload your trimmed master.
- Choose 1080p resolution (or keep 4K if desired).
- Set bitrate to 8 Mbps (or 35 Mbps for 4K).
- Toggle “Clean File Privacy” to strip metadata.
- Download the YouTube-ready file.
Step 3: Create TikTok Clips (9:16)
TikTok is all about vertical, short-form, attention-grabbing content. You’ll want to extract the most engaging moments from your master.
TikTok optimization:
- Aspect ratio: 9:16 (vertical)
- Length: 15–60 seconds (15–30 seconds performs best)
- Resolution: 1080×1920
- Bitrate: 4–6 Mbps
- Format: MP4
How to create TikTok clips:
-
Identify 3–5 engaging moments in your master file. Look for:
- Strong hooks (first 3 seconds matter most)
- Emotional moments
- Actionable tips
- Surprising facts
-
Cut each clip using the Video Cutter:
- Upload the master file.
- Set start and end points around the chosen moment (keep each clip 15–30 seconds).
- Download each clip as a separate file.
-
Crop to vertical using the Video Cropper:
- Upload each clip.
- Select 9:16 aspect ratio.
- Drag the crop area to keep the subject centered.
- Download the vertical clip.
-
Compress using the Video Compressor:
- Upload the vertical clip.
- Set resolution to 1080×1920.
- Set bitrate to 4–6 Mbps.
- Toggle “Clean File Privacy.”
- Download.
Pro tip: Add text overlays to TikTok clips (coming soon to Dayront). Text on screen dramatically increases engagement because many users watch without sound.

Step 4: Create Instagram Reels (9:16)
Instagram Reels are similar to TikTok in format but have slightly different best practices.
Reels optimization:
- Aspect ratio: 9:16 (vertical)
- Length: 30–90 seconds (30–60 is sweet spot)
- Resolution: 1080×1920
- Bitrate: 4–6 Mbps
- Format: MP4
Difference from TikTok:
- Reels can be slightly longer.
- Instagram audiences prefer polished, aesthetic content.
- Hashtags matter more on Instagram.
How to create Reels:
Use the same TikTok clips if they’re 30–60 seconds. If your TikTok clips are shorter (15 seconds), consider creating longer versions for Reels:
- Cut a 30–60 second clip using the Video Cutter.
- Crop to 9:16 using the Video Cropper.
- Compress to 1080×1920 at 4–6 Mbps.
- Clean metadata.
Note: Instagram compresses Reels heavily. Uploading a higher-quality file (8–10 Mbps) can help preserve quality after Instagram’s compression. Test with a few uploads to see what works best for your content.
Step 5: Create Instagram Feed Post (1:1 or 4:5)
Instagram Feed posts are square (1:1) or portrait (4:5). These are great for sharing short clips or teasers.
Feed post optimization:
- Aspect ratio: 1:1 (square) or 4:5 (portrait)
- Length: 30–60 seconds (Instagram allows up to 10 minutes, but shorter is better for engagement)
- Resolution: 1080×1080 (1:1) or 1080×1350 (4:5)
- Bitrate: 4–6 Mbps
- Format: MP4
How to create Feed posts:
- Cut a clip using the Video Cutter (30–60 seconds).
- Crop to 1:1 or 4:5 using the Video Cropper.
- Compress to appropriate resolution.
- Clean metadata.
Pro tip: 4:5 posts take up more screen real estate in the Instagram feed, which can increase engagement. If your content works well in 4:5, prefer it over 1:1.
Step 6: Create LinkedIn Video (16:9 or 1:1)
LinkedIn is the professional platform. Content here should be business-oriented: tips, insights, industry news.
LinkedIn optimization:
- Aspect ratio: 16:9 (landscape) or 1:1 (square)
- Length: 30 seconds–5 minutes (1–2 minutes is ideal)
- Resolution: 1080p (1920×1080) or 1080×1080
- Bitrate: 6–8 Mbps
- Format: MP4
How to create LinkedIn videos:
- Choose a clip that’s professional and valuable. Avoid overly casual or “entertainment” content.
- Cut using the Video Cutter (1–2 minutes).
- Crop to 16:9 or 1:1 using the Video Cropper.
- Compress to 6–8 Mbps.
- Clean metadata.
Pro tip: LinkedIn users often watch without sound (especially on mobile). Add captions or use the transcription workflow to create subtitles.
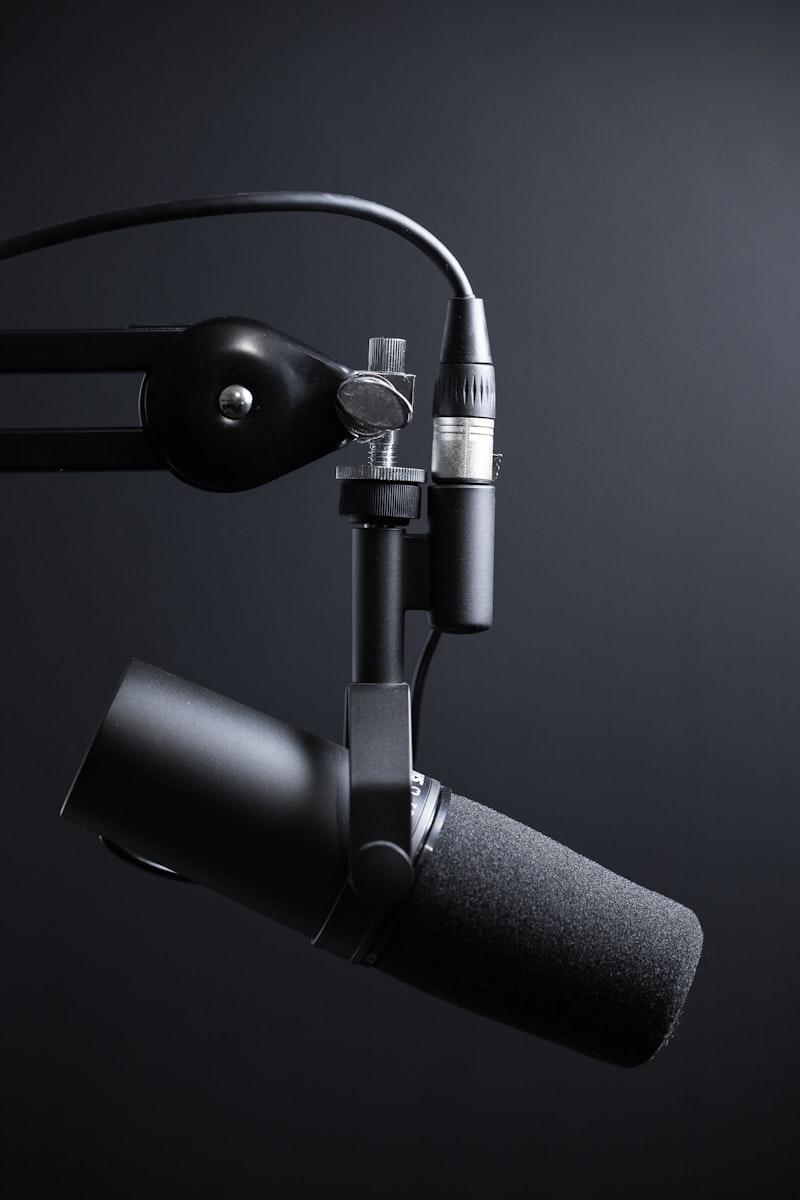
Step 7: Create the Podcast Version (Audio Only)
Your video content can easily become a podcast episode. Just extract the audio and process it.
Podcast optimization:
- Format: MP3 (128–192 kbps)
- Sample rate: 44.1 kHz
- Channels: Mono (for voice) or Stereo (if music matters)
- Loudness: -16 LUFS (standard for podcasts)
How to create the podcast version:
-
Extract audio using the Audio Extractor:
- Upload your trimmed master video.
- Choose MP3 as output format.
- Download the extracted audio.
-
Compress using the Audio Compressor:
- Upload the extracted MP3.
- Choose level 3–4 for natural sound.
- Download.
-
Boost volume using the Volume Booster:
- Upload the compressed file.
- Add +6 dB (or more if needed).
- Download.
-
Convert to final format using the Audio Converter:
- Upload the boosted file.
- Choose MP3 at 128–192 kbps.
- Toggle “Clean File Privacy.”
- Download.
Result: A podcast-ready MP3 that sounds professional and consistent.
Step 8: Create a Blog Post (via Transcription)
Repurpose your video or podcast into a written article. This is great for SEO and reaching audiences who prefer reading.
How to create a blog post:
-
Prepare your audio (from Step 7 or the extracted audio) using the transcription workflow:
- Trim silence with Audio Cutter.
- Compress for clarity.
- Boost volume.
- Convert to MP3 (128 kbps).
-
Transcribe using your preferred method:
- Manual (slow but free)
- AI cloud service (fast, semi-private)
- Local AI like Whisper (fast, fully private)
-
Edit the transcript into a blog post:
- Add headings and subheadings.
- Break long paragraphs.
- Add images.
- Include a call to action.
SEO benefit: Blog posts rank in Google, driving organic traffic to your other content.
Part 3: The Complete Workflow Summary
Here’s the entire workflow at a glance:
| Step | Platform | Tool(s) Used | Output |
|---|---|---|---|
| 1 | Master file | Video Cutter | Clean master video |
| 2 | YouTube | Video Compressor | 16:9 MP4 (1080p, 8 Mbps) |
| 3 | TikTok | Video Cutter + Cropper + Compressor | 9:16 MP4 clips (15–30 sec) |
| 4 | Instagram Reels | Video Cutter + Cropper + Compressor | 9:16 MP4 clips (30–60 sec) |
| 5 | Instagram Feed | Video Cutter + Cropper + Compressor | 1:1 or 4:5 MP4 (30–60 sec) |
| 6 | Video Cutter + Cropper + Compressor | 16:9 or 1:1 MP4 (1–2 min) | |
| 7 | Podcast | Audio Extractor + Compressor + Booster + Converter | MP3 (128–192 kbps) |
| 8 | Blog | Audio tools + Transcription | Written article |
Total processing time: Less than 15 minutes for all platforms (once you know the workflow).
Total cost: $0. All tools are free.
Privacy: 100% local. Nothing ever leaves your device.
Part 4: Privacy Considerations for Multi-Platform Content
When you post to multiple platforms, you’re sharing your content with many different companies. Each platform has its own data collection policies. By processing your content locally before uploading, you maintain control over what information you share.
What Metadata to Clean
Before uploading to any platform, toggle “Clean File Privacy Before Download” in every Dayront tool. This removes:
- GPS coordinates: Prevents people from finding your location.
- Device model: Keeps your equipment private.
- Software used: Doesn’t reveal your editing workflow.
- Author name: Prevents doxxing.
- Date/time stamps: Keeps your filming schedule private.
Platform-Specific Privacy Tips
| Platform | Privacy Concern | Mitigation |
|---|---|---|
| YouTube | Google collects viewing data | Use a separate Google account for uploads |
| TikTok | App accesses contacts, location | Use a burner phone or restrict permissions |
| Meta tracks browsing habits | Use browser upload instead of app | |
| Professional network data | Be mindful of what you share | |
| Podcast hosts | RSS feed tracking | Use a privacy-respecting host |
Remember: Cleaning metadata before upload means the platform only knows what you explicitly tell it. Your content, your rules.
Part 5: Automation and Batch Processing
Once you’ve mastered this workflow, you’ll want to automate it. Dayront is actively developing batch processing tools that will let you:
- Upload a master file.
- Select all target platforms.
- Apply platform-specific settings automatically.
- Download a ZIP with all optimized versions.
Coming soon: Batch Video Processor, Batch Audio Processor, and a full Multi-Platform Export tool.
In the meantime, you can semi-automate by opening multiple browser tabs and processing files in parallel.
Part 6: Real-World Example
Let’s walk through a realistic example to see how this works in practice.
Scenario: You’re a marketing consultant who recorded a 20-minute video: “5 Tips for Small Business Marketing.”
Step 1: Master file (20 minutes, 4K, 16:9, 2 GB)
- Trim to 18 minutes (remove intro/outro fluff).
Step 2: YouTube version
- Compress to 1080p, 8 Mbps → 150 MB
- Upload to YouTube.
Step 3: TikTok clips (extract 3 tips as separate clips)
- Tip 1: 25 seconds → crop to 9:16 → compress to 4 Mbps → 15 MB
- Tip 2: 30 seconds → crop to 9:16 → compress to 4 Mbps → 18 MB
- Tip 3: 20 seconds → crop to 9:16 → compress to 4 Mbps → 12 MB
Step 4: Instagram Reels (use same clips if 30–60 seconds)
- Tip 1 + Tip 2 combined: 55 seconds → crop to 9:16 → compress → 30 MB
Step 5: Instagram Feed (square teaser)
- Tip 1: 25 seconds → crop to 1:1 → compress → 15 MB
Step 6: LinkedIn (professional summary)
- Full video trimmed to 2 minutes → crop to 16:9 → compress → 25 MB
Step 7: Podcast (audio only)
- Extract audio → compress → boost → convert to MP3 → 18 MB
Step 8: Blog post
- Transcribe the full 18-minute video → edit into article → publish.
Total processing time: ~12 minutes Total files created: 8 optimized versions Total reach: YouTube + TikTok + Instagram (Reels + Feed) + LinkedIn + Podcast + Blog = 6 platforms
Without this workflow: You’d spend 2–3 hours manually editing for each platform, or pay for expensive software.
Conclusion: Create Once, Distribute Everywhere
The multi-platform content workflow is the key to maximizing your reach without burning out. By starting with a high-quality master file and using Dayront’s privacy-first browser tools, you can create optimized content for every major platform in minutes – not hours.
The benefits are clear:
- Save 2–3 hours per content piece
- Reach audiences on 6+ platforms
- Maintain 100% privacy (no uploads)
- Zero cost (all tools are free)
- Consistent quality across platforms
Ready to start? Open the Video Cutter and begin your multi-platform journey today. Your content deserves to be everywhere – and now it can be.
Explore all tools: Full tool directory
Have questions? We’re building the tools you need. Reach out and tell us what to build next.